Configuring IIS on Windows Server 2008 for use with O4W
1. In this example OpenInsight is installed in C:\RevSoft\OInsight. In this example, OpenInsight and IIS are installed on the same server or workstation.
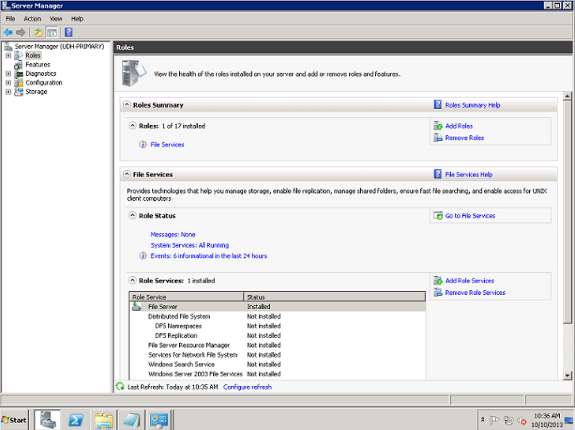
2. Open Server Manager, click on the "Roles" tree to the left and then click on "Add Roles" on the Right.
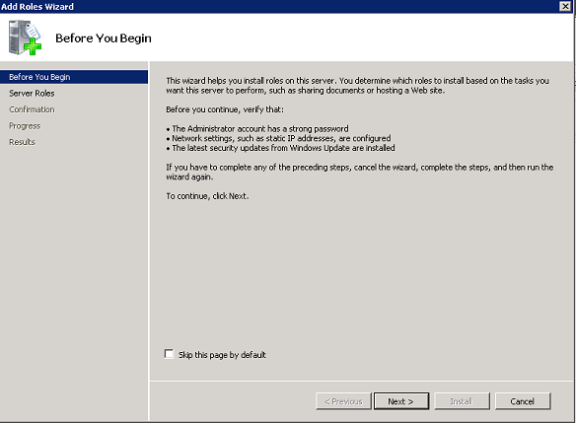
3. This will direct you through the Wizard to add the IIS Role to the server. Click Next to proceed with the installation.
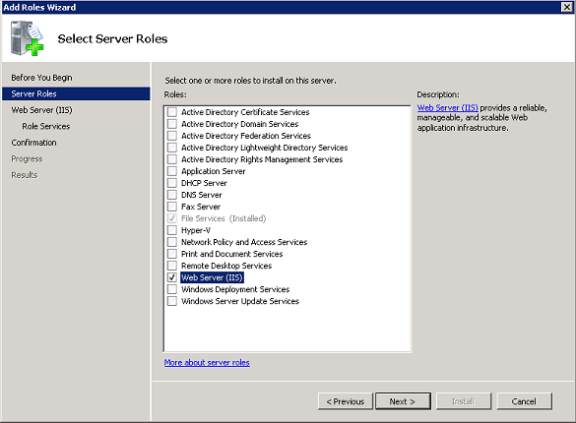
4. Check off Web Server (IIS) and click Next.
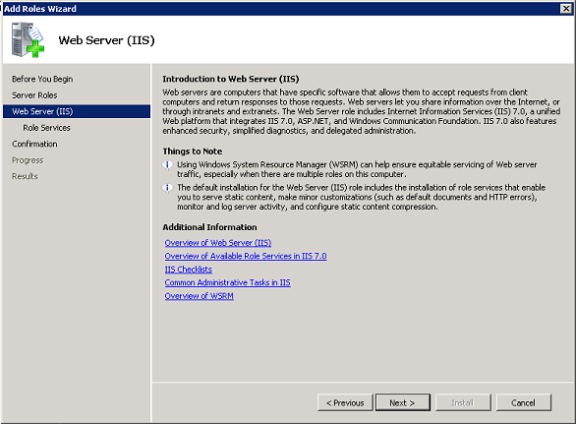
5. The next screen will give you a brief description of what IIS is and how it may impact the performance of the server.
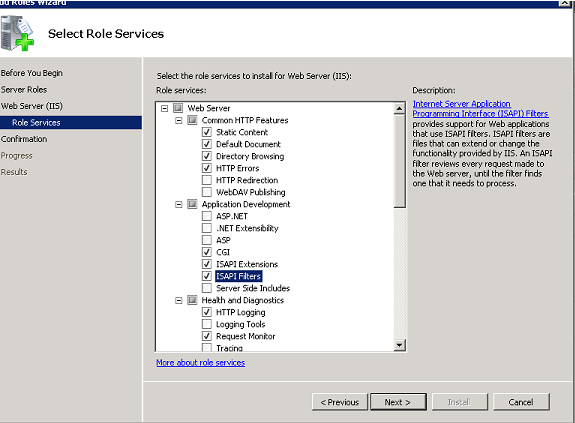
6. When prompted to select Role Services, under "Application Development Features". Place a check box for "CGI," "ISAPI Extensions," and "ISAPI Filters". Your screen should resemble the image below. Click "Next" when finished to continue.
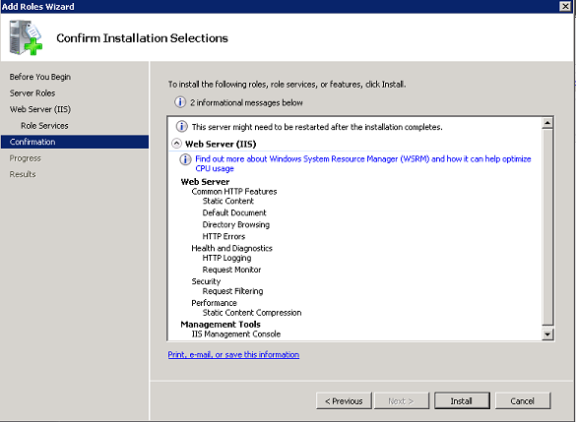
7. You are then brought to screen displaying a list of Roles and Features that will be installed. This screen also instructs you that the Server may require a reboot in order to complete the installation. Clicking Install will finalize the installation.
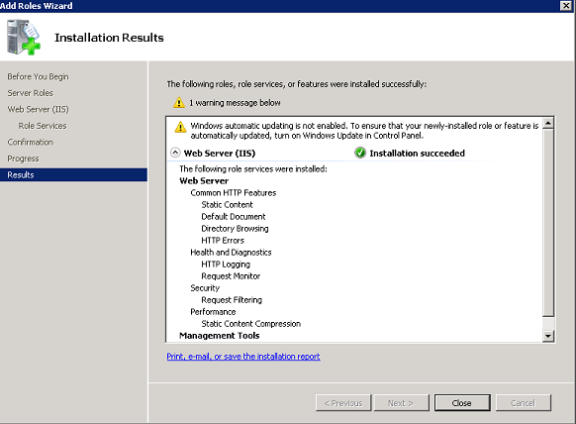
8. The last screen displays a results page confirming that all selected Roles and Features were installed and also displays any errors encountered or suggestions for optimal performance (Enabling Windows Automatic Updates, etc.). Click Close to close the Wizard.
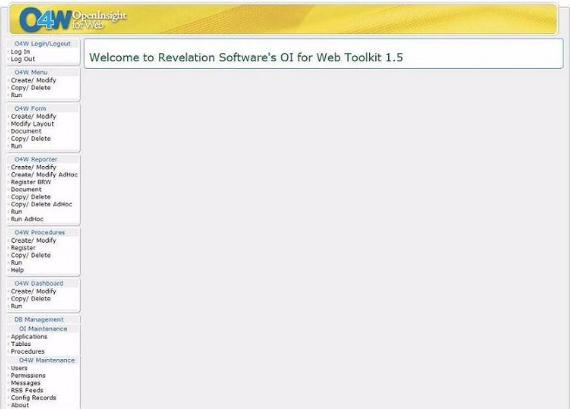
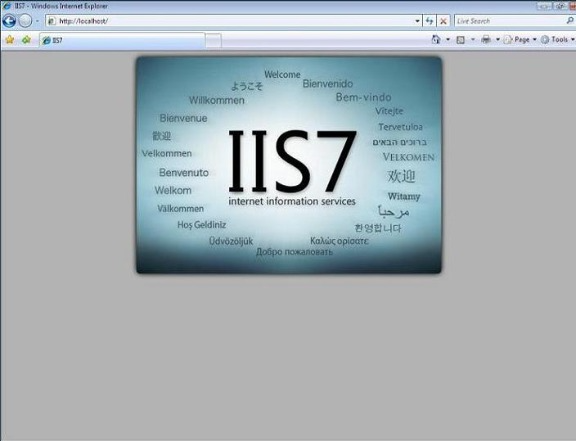
9. When the installation is finished open your web browser and go to http://localhost. You should see a web page as shown in the image below. This confirms that IIS has installed correctly.
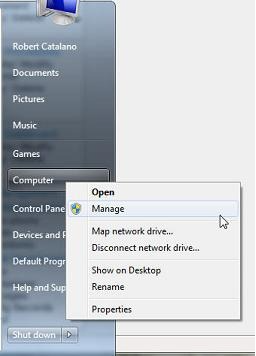
10. Open the "Server Management" window by right clicking "Computer -> Manage".
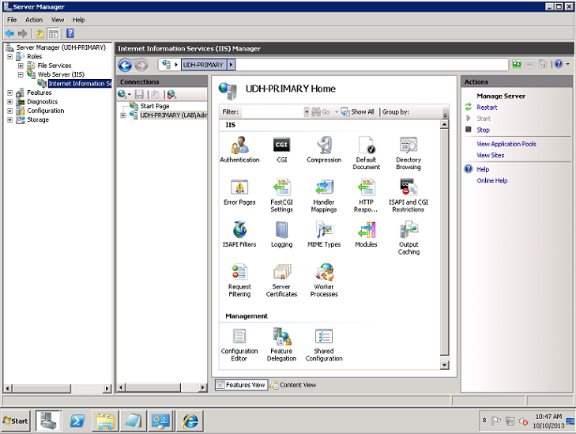
11. In the menu tree on the left side locate and expand "Roles -> Webserver" and select "Internet Information Services".
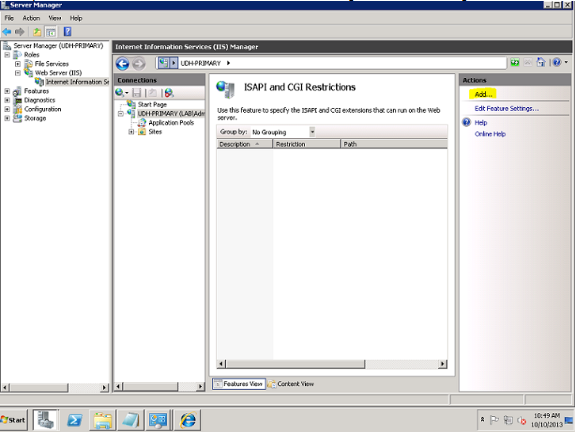
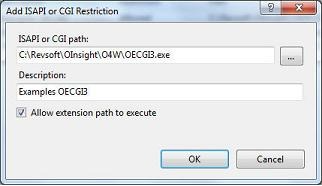
12. Open "ISAPI and CGI Restrictions" as shown in the image below. In the right hand side menu under "Actions" click "Add".
13. When the "Add ISAPI or CGI Restriction" dialog appears, enter the values listed below and click "OK".
14. Note: By default (*.dll) is selected as a filetype, this much be changed to (All files (*.*) in order to find the application.
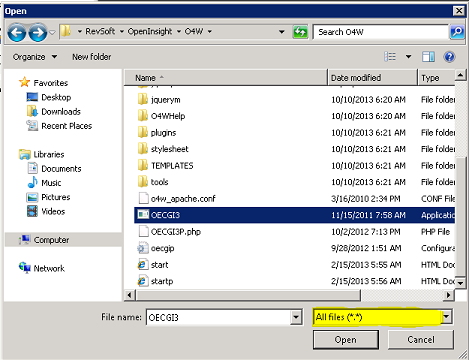
15. Note: If you use the selection button to choose the location of OECGI3.exe and the path where it is located contains spaces, you must enclose the path in double quotes.
16. On the left side under "Connections" click on the root of the menu tree to display the main configuration options for IIS. Double click "Handler Mappings". Your screen should resemble the image below.
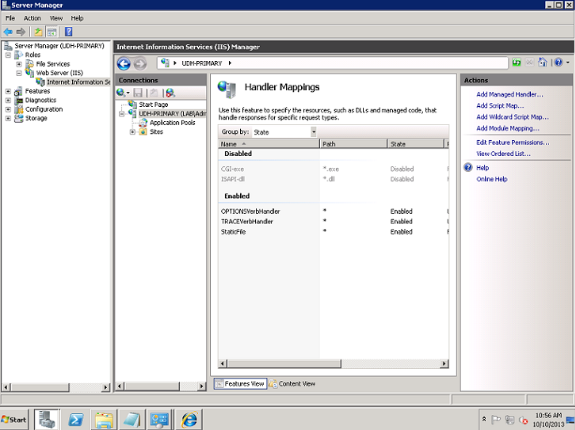
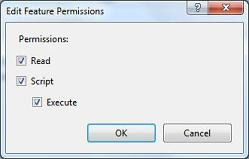
17. In the list right click "CGI-exe" and choose "Edit Feature Permissions".
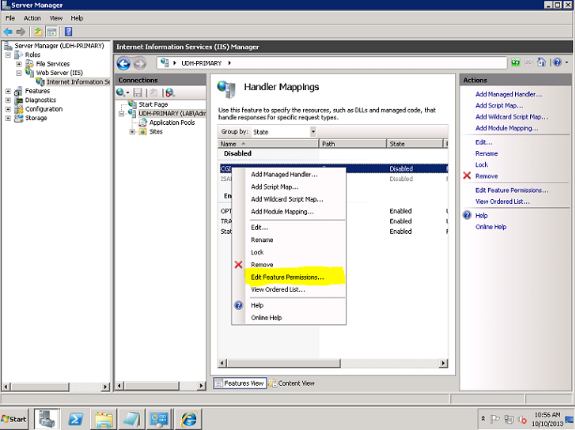
18. Make sure "Execute" is checked.
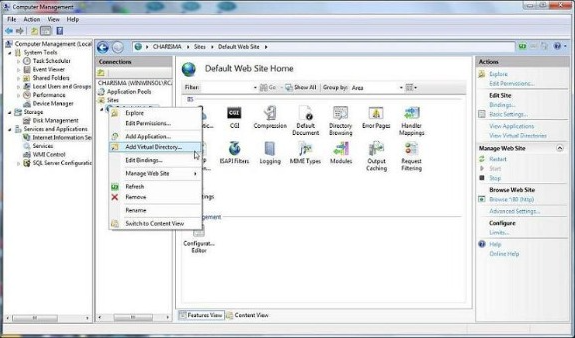
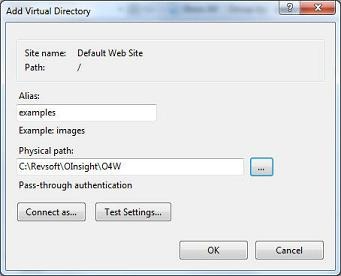
19. Within your OpenInsight directory is a folder called O4W. This folder contains the OECGI3 executable. We will now create a virtual directory called "EXAMPLES" that points to this folder. On the left side tree expand "Sites" and then right click "Default Web Site" and choose "Add Virtual Directory". Enter "EXAMPLES" in the alias field and choose the path where your O4W directory is located. When finished click "OK".
20. Start Internet Explorer and type http://localhost/examples/start.htm If the virtual directory examples points to the O4W folder in your OpenInsight directory you should see the following page in your browser.